AI Sprite Generator Comparison: What to Look For
November 8, 2026 · 7 min read
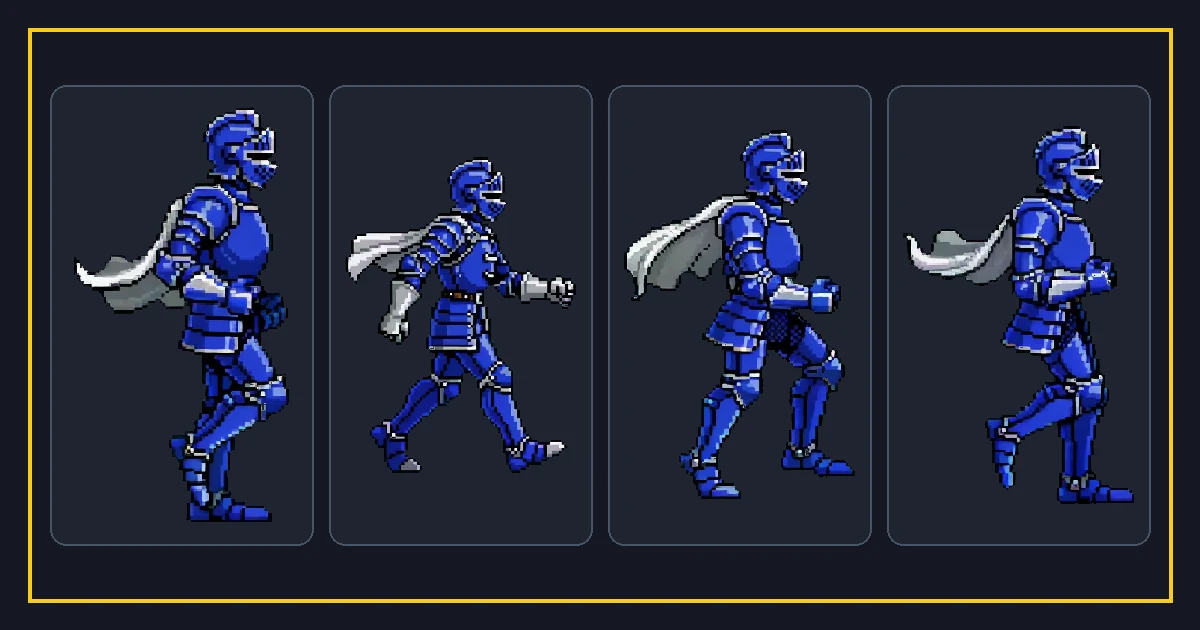
AI image models can draw a convincing character in seconds. Turning that into a usable sprite animation is a different job. The gap between a pretty image and a looping, aligned sprite sheet is where most AI sprite generators either earn their place or fall apart.
This comparison is about the workflow, not a beauty contest between models. It covers the two common approaches and the checks that decide which one actually ships.
Approach one: general image model plus manual slicing
The first approach uses a general text-to-image model to draw each frame, then you slice and pack by hand. It is flexible and the art can be excellent, but consistency is the weak point.
Between frames, the model may change the character's height, costume details, or the position of the feet. Small differences multiply into a jittery animation. You end up fixing frames manually, which erases the speed advantage.
This approach works best for a single hero image or an idle pose. For a full walk cycle with eight frames, the cleanup can take longer than drawing by hand.
Approach two: a purpose-built sprite pipeline
A sprite-focused pipeline treats generation as one step and alignment as a first-class concern. It produces frames at a fixed cell size, keeps the baseline steady, and packs them with a manifest that records every rectangle and the timing.
The output is an aligned PNG atlas plus a manifest.json with per-frame rectangles, frame rate, and loop flag. That is exactly what Unity, Godot, GameMaker, and Phaser need, so the handoff is short.
Purpose-built tools also tend to offer the supporting jobs in one place: pack, slice, and animate in the browser, free. That reduces the number of tools you juggle.
Consistency and alignment are the real test
Whether the art comes from a general model or a focused pipeline, the test is the same: play the frames in a row. Does the character stay the same size? Do the feet stay on one baseline? Does the loop close?
If yes, the tool did the hard part. If no, you are looking at a demo, not a production asset. Any claim of automatic quality should survive this simple playback check.
Be skeptical of comparisons that only show a single frame. One frame hides every problem that matters for animation.
What to check before you commit
Check the export. You want a PNG with alpha and a manifest with rectangles and timing. A GIF alone is not enough for engine work.
Check the price model. Here you get 90 trial credits, a single image costs 15 credits, and a whole set costs 20 to 30 to 45 credits depending on scope. Failed generations are refunded, which matters when AI output occasionally misses.
Check the scope of the tool. This one is an independent sprite tool, not an official engine plugin. That is fine, and it means it stays engine-neutral: the manifest works anywhere.
Where AI helps and where it does not
AI is strong at exploring style, generating a base pose, and producing variations fast. It is weak at holding exact proportions across many frames without help.
Use AI for the parts it is good at, then rely on alignment and packing to make the frames usable. That division of labor is why a sprite pipeline beats a raw image model for animation.
For textures and single images, a general model is often enough. For a looping character sheet, the alignment step is the difference between usable and frustrating.
A practical recommendation
If you need one illustration, any good image model works. If you need an animated sprite that drops into an engine, use a tool that guarantees alignment and exports a manifest.
Start with the free browser tools to see the workflow, use the trial credits to generate a set, and confirm the loop before you spend more. That sequence keeps surprises small.
The best generator is the one whose output you can trust on frame eight, not just frame one.
A quick test plan before you spend credits
Before you generate a whole set, spend a little to prove the pipeline. Create one character with a short animation, four to six frames, and play it. If the loop closes and the feet stay planted, the tool is doing the alignment work you need.
Then test a second pose that is harder: a jump or an attack, where the body moves off the baseline. A good pipeline keeps the cell size fixed and records the offset, so the motion still lines up. If the character jumps sideways between frames, be careful.
Check the export next. Download the PNG and the manifest, open the manifest in a text editor, and confirm it lists a rectangle, a frame rate, and a loop flag per frame. If it does, your engine work is a copy of numbers rather than guesswork.
Run the sheet through your engine once before scaling up. Import it in Unity, Godot, or Phaser, play it, and look at it at game scale. Two minutes here saves a rebuild later.
Only then generate the rest of the set. By that point you know the cell size, the frame rate, and that the loop survives real playback. The trial credits are meant for exactly this kind of small test before a bigger spend.
Keep the failed attempts too. A frame that did not work often shows what went wrong, and a refunded generation plus a note of the prompt is cheaper than repeating the same mistake across ten characters. Write down the prompt and settings that worked. A repeatable recipe is worth more than one lucky batch, because you will need it again for the next character.
FAQ
Frequently asked questions.
Are AI sprite generators good enough for real games?+
How much does an AI sprite generator cost here?+
Does it export to Unity and Godot?+
What is the biggest risk with AI sprites?+
Can I try it before paying?+
Try it yourself
- Sprite Sheet Maker — Upload frames and pack an alpha PNG atlas with a matching JSON manifest — free.
- Video to Sprite Sheet — Turn a short MP4 or MOV into evenly spaced frames and a loop-ready sheet.
- Image to Sprite Sheet — Turn a single image into a multi-frame sprite sheet with AI.
- SpritesGen Pricing — Free Browser Tools & AI Credits
- How to Choose the Best Sprite Sheet Maker